Introduction
Installing tile can be a rewarding DIY project that enhances the beauty and functionality of your home. Whether you’re updating a bathroom, kitchen, or entryway, this guide will walk you through the essential steps of tile installation, from selecting the right materials to maintaining your new surface.
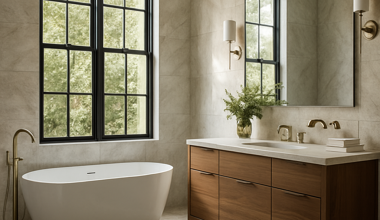
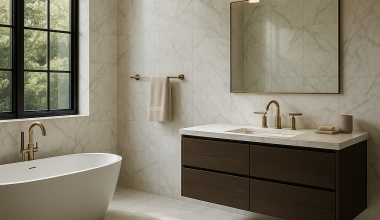
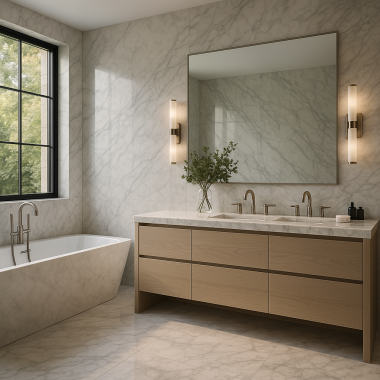
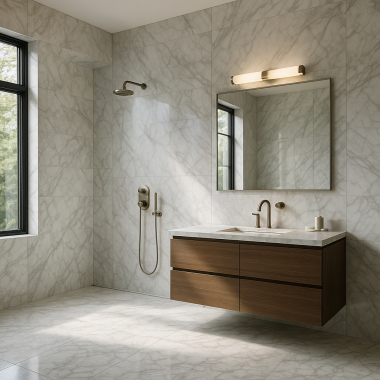
Buying Guide: Choosing the Right Tile
Before you start your DIY project, it’s crucial to select the right tile. Here are some factors to consider:
- Material: Common options include ceramic, porcelain, glass, and natural stone. Each has its unique properties and suitability for different areas.
- Size: Tiles come in various sizes. Larger tiles can create a modern look, while smaller tiles can add texture and detail.
- Style: Consider the overall aesthetic of your space. Choose colors and patterns that complement your existing decor.
- Durability: Check the PEI rating for ceramic tiles, which indicates their durability and suitability for different areas of your home.
- Budget: Set a budget for your tile purchase, including additional materials like adhesive and grout.
Installation Tips: Step-by-Step Process
Once you’ve selected your tile, it’s time to install it. Follow these steps for a successful DIY tile installation:
1. Prepare the Surface
Ensure the surface is clean, dry, and level. Remove any old flooring or debris and repair any cracks or holes.
2. Gather Your Tools
You’ll need the following tools:
- Tile cutter or wet saw
- Notched trowel
- Level
- Measuring tape
- Grout float
- Sponge and bucket
- Tile spacers
3. Plan Your Layout
Before applying adhesive, lay out your tiles to determine the best arrangement. Start from the center of the room and work your way out to ensure symmetry.
4. Apply Adhesive
Using a notched trowel, spread adhesive on the surface in small sections. Press the tiles firmly into the adhesive, using spacers to maintain even gaps.
5. Cut Tiles as Needed
Use a tile cutter or wet saw to cut tiles to fit around edges and corners. Always wear safety goggles when cutting tiles.
6. Grout the Joints
Once the adhesive has cured (usually 24 hours), remove the tile spacers and apply grout using a grout float. Press the grout into the joints and wipe off excess with a damp sponge.
7. Seal the Grout
After the grout has dried, apply a grout sealer to protect it from moisture and stains. Follow the manufacturer’s instructions for application.
Maintenance Tips: Keeping Your Tile Looking Great
Proper maintenance will extend the life of your tile and keep it looking new. Here are some tips:
- Regular Cleaning: Sweep or vacuum regularly to remove dirt and debris. Use a damp mop with a mild cleaner for deeper cleaning.
- Avoid Harsh Chemicals: Steer clear of abrasive cleaners that can damage the tile surface and grout.
- Address Grout Issues: Check for cracks or discoloration in the grout and repair as needed to prevent water damage.
- Use Rugs: Place rugs in high-traffic areas to minimize wear and tear on your tile.
FAQs About DIY Tile Installation
1. How long does it take to install tile?
The time required varies based on the size of the area and your experience level, but most installations can be completed in a weekend.
2. Can I install tile over existing flooring?
In many cases, you can install tile over existing flooring, but ensure the surface is level and secure.
3. What type of grout should I use?
Choose sanded grout for wider joints and unsanded grout for narrower joints. Epoxy grout is also a durable option for wet areas.
4. Do I need to seal my tile?
It depends on the type of tile. Porous tiles like natural stone usually require sealing, while glazed ceramic tiles typically do not.
5. How can I remove tile if I need to?
To remove tile, use a chisel and hammer to break the tiles apart, then scrape off any remaining adhesive from the surface.
Conclusion
DIY tile installation can be a fulfilling project that adds value to your home. With the right materials, tools, and techniques, you can achieve professional-looking results. Explore our wide range of tile and stone options to find the perfect fit for your next project!